Today, old-fashioned signs are being replaced by more lively digital displays. The digital sandwich board is a new twist on the classic A-frame sign. It uses LED tech and lets you change its content easily. This guide will show you how to make your own digital sandwich board.
We’ll cover the basics of digital signs, how to build it, and how to add light guides. You’ll also learn about programming it to show different content. It’s inspired by the test chamber signs from Portal.
Key Takeaways
- Discover the components and materials needed to build a digital sandwich board
- Understand the key features and benefits of custom digital signage
- Learn about light diffusion principles and edge-lit display implementation
- Explore programming and content management solutions for your digital sandwich board
- Gain insights into optimizing display brightness and visibility for maximum impact
Understanding Digital Sandwich Board Basics
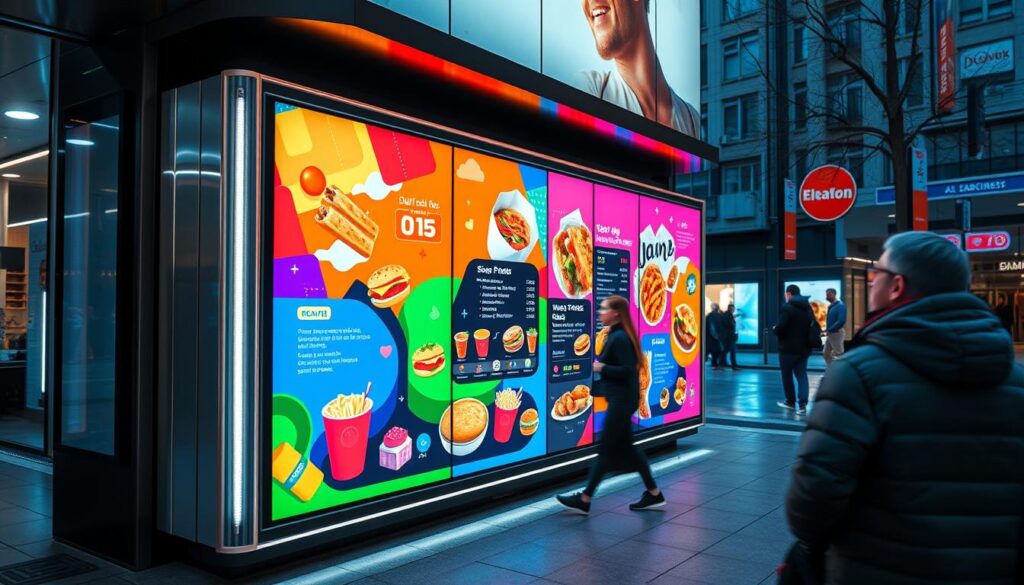
Digital sandwich board like digital directory board are eye-catching displays that are gaining popularity. They have an LED light source, a light guide plate, diffuser layers, and a display panel. To make one, you need acrylic sheets, LEDs, microcontrollers, and optical films.
Key Features of Modern Digital Signage
Today’s digital sandwich boards have advanced features. They can show real-time content, making messages dynamic and engaging. They also save energy, which helps businesses save money over time.
Benefits of Custom Digital Signs
Custom digital sandwich boards offer many benefits. They are more visible, grabbing the attention of people in busy areas. With interactive displays, programmable boards, and updateable messaging, businesses can share their brand and engage with customers.
| Feature | Benefit |
|---|---|
| Improved Visibility | LED sandwich boards are more visible, leading to higher engagement rates than non-illuminated signs. |
| Dynamic Content | LED sandwich boards can show dynamic content like rotating messages, animations, and videos. |
| Portability | LED sandwich boards are lightweight and easy to move to different locations. |
| Customization | Businesses can customize LED sandwich boards with their brand colors, logos, and messages, reflecting their marketing goals. |
| Cost-Effectiveness | Though the initial cost may be higher, LED sandwich boards are cost-effective in the long run due to their durability and energy efficiency. |
By using custom digital signage, businesses can boost their marketing, engage customers better, and stay competitive.
Build Your Own Digital Sandwich Board: Step-by-Step Process
Creating your own DIY digital signage is rewarding and cost-effective. It’s a great way to show off your brand or business. The process includes designing the layout and adding control electronics. This guide will help you build your own digital sandwich board.
- Design the Display Layout: Plan the design and size of your digital sandwich board. Make sure the LED display fits well with the board’s size.
- Prepare the Acrylic Sheets: Cut the acrylic sheets to size using a laser cutter or CNC machine. Make sure the edges are smooth for a professional look.
- Etch or Print the Display Pattern: You can etch the design on the acrylic sheets or use UV-resistant inks to print it.
- Assemble the Light Guide Plate Sandwich: Layer the acrylic sheets, light diffusing materials, and other components to make the light guide plate sandwich.
- Integrate the LED Light Source: Place the LED light source along the edges of the light guide plate for even lighting.
- Connect the Control Electronics: Add the control electronics, like microcontrollers or Raspberry Pi boards, to power the display and program content.
Pay attention to details like power consumption and durability during construction. Use tools like laser cutters and 3D printers to make a professional-grade custom electronic sign. This will grab your audience’s attention.
| Feature | Benefit |
|---|---|
| Customizable Design | Create a unique digital sandwich board that aligns with your brand and message. |
| Versatile Placement | Easily move the digital sandwich board to different locations for maximum exposure. |
| Cost-Effective Solution | Building your own digital signage can be more affordable than purchasing a pre-made unit. |
Follow these steps to make the most of DIY digital signage. You’ll create a captivating LED display construction that showcases your brand in a unique way.
Light Guide Technology and Display Integration
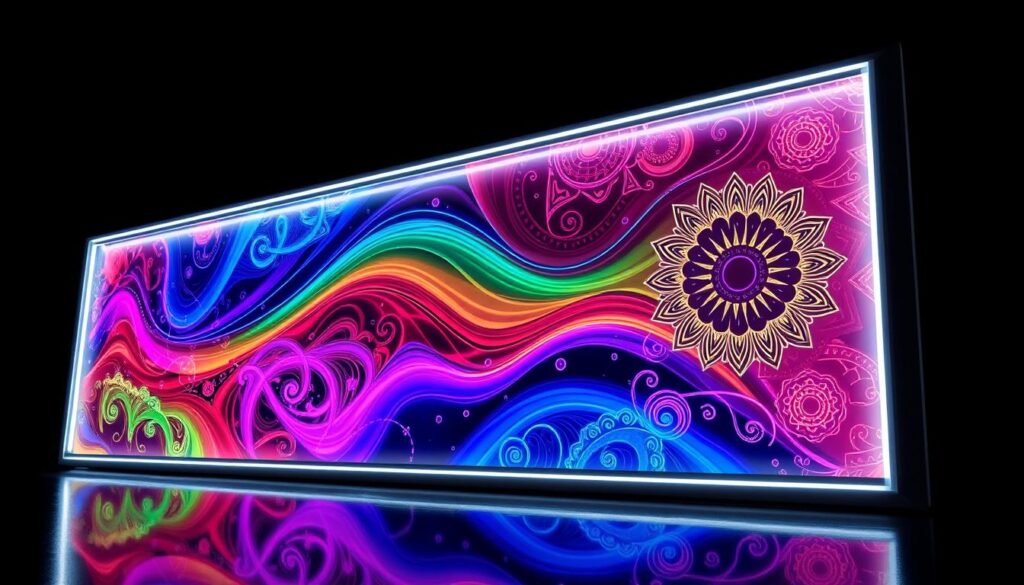
Modern digital signage is powered by light guide technology. It uses total internal reflection and controlled light extraction. This makes displays sleek, energy-efficient, and visually stunning.
Understanding Light Diffusion Principles
Light diffusion in digital signage relies on Snell’s Law and light reflection angles. By designing the light guide plate surface, manufacturers control light extraction and distribution. This ensures light is evenly spread, making the display appealing.
Edge-Lit Display Implementation
Edge-lit displays use light guide technology with LED lights along the edges of a transparent sheet. A pattern of dots or etchings guides and extracts light, spreading it evenly. This design makes displays more energy-efficient and popular for digital signage.
Optimizing Display Brightness and Visibility
Manufacturers use techniques like reflective backing layers and adjusting dot pattern density to improve brightness and visibility. They also use diffuser films and mathematical models to achieve uniformity. This enhances the viewer’s experience.
“The beauty of light guide technology lies in its ability to transform the way we perceive and interact with digital displays, enabling a new era of visually stunning and energy-efficient signage solutions.”
If you are looking for a sandwich board for sale, digital display software , digital coolers, digital wayfinding software, digital kiosk, digital printing services visit them.
Programming and Content Management Solutions
Creating a digital sandwich board is more than just putting parts together. The real magic happens with the software that makes your displays work. You can go from simple messages to complex systems that manage data and content.
At the heart of any digital sandwich board is a microcontroller like an Arduino or Raspberry Pi. These devices let developers create custom software. This software controls the display, schedules content, and saves battery life.
For an easier setup, interactive signage software offers simple interfaces. These tools help with creating, scheduling, and updating content over Wi-Fi or cellular.
“The Digital Signage CMS offers a 14-day test license for users signing up. The system performs three main tasks: content management, device management, and reporting.”
These digital content management platforms have cool features. They can include motion sensors, social media feeds, or updates based on weather or time. With these programmable displays, your signage can be dynamic and engaging.

Whether you’re tech-savvy or new to digital signage, there’s a lot to explore. With the right tools and creativity, your signage can become a vibrant, interactive platform. It can make your business stand out and connect with customers in unique ways.
Conclusion
Creating a custom digital sandwich board and possible a interactive white board is a mix of tech and creativity. It’s perfect for both hobbyists and businesses. This project uses optics, electronics, and design to make a display that catches the eye and works well.
It’s a tough project, but it teaches a lot about today’s display tech. You can make a sign that’s both affordable and tailored to your needs.
DIY digital signage lets you try new things in advertising and showing information. You can make custom LED displays and find unique electronic advertising solutions for your business.
If you run a small business or just like tech, making a digital sandwich board is a great project. With the right tools and a bit of creativity, you can make your message stand out. It’s a fun and innovative way to show what you’re about.
FAQ
What is a digital sandwich board?
A digital sandwich board is a modern twist on traditional signs. It uses LED technology and customizable displays. It’s great for advertising, guiding people, and sharing information in many places.
What components are needed to build a DIY digital sandwich board?
You’ll need an LED light source, a light guide plate (LGP), and diffuser layers. Also, a display panel is essential. You’ll need acrylic sheets, LEDs, microcontrollers, and optical films.
What are the benefits of using a custom digital sandwich board?
Custom digital signs are more visible and can change messages easily. They grab attention in busy areas. They’re perfect for ads, directions, and event info.
How do you construct a DIY digital sandwich board?
First, design the display layout. Then, cut and prepare the acrylic sheets. Next, etch or print the display pattern.
Assemble the light guide plate sandwich. Add the LED light source and connect the control electronics.
What is the role of light guide technology in digital sandwich boards?
Light guide tech uses total internal reflection and controlled light extraction. Edge-lit displays have LEDs along the edges of a clear acrylic sheet. A special pattern spreads the light evenly.
How do you program a digital sandwich board?
Choose a microcontroller like Arduino or Raspberry Pi. Then, write software to control the display. You can show simple messages or update it in real-time.